In a recent article dedicated to introducing Mage.ai – a tool for creating and managing ETL processes, I promised at the end that we would try to create a Mage.ai pipeline in the next article. If you are not familiar with this ETL framework, I recommend going through the introductory article.
Source and Destination Databases for ETL Pipeline
In this exercise, our task will be to create an ETL process using Mage.ai that copies the “Address” table from one instance to another, without any transformations – simply a 1:1 copy. First, let’s take a look at where we will be doing our data ETL pump from.
Source Table and Database for ETL – Adventureworks Azure
Our source will be a publicly accessible database Adventureworks, operated by sqlcentralcom. This OLTP database is hosted on Azure and contains several tables as seen in the screenshot. For the purposes of the ETL pipeline, we will only be interested in the following:
- Host: sqlservercentralpublic.database.windows.net
- Database: AdventureWorks
- Schema: SalesLT
- Table: Address
- User: sqlfamily
- Password: see link to sqlcentralcom.
Additional information – the classic port 1433
So, we know the source, and we have everything we need to create a connection string.
Destination Database for ETL – Data Warehouse
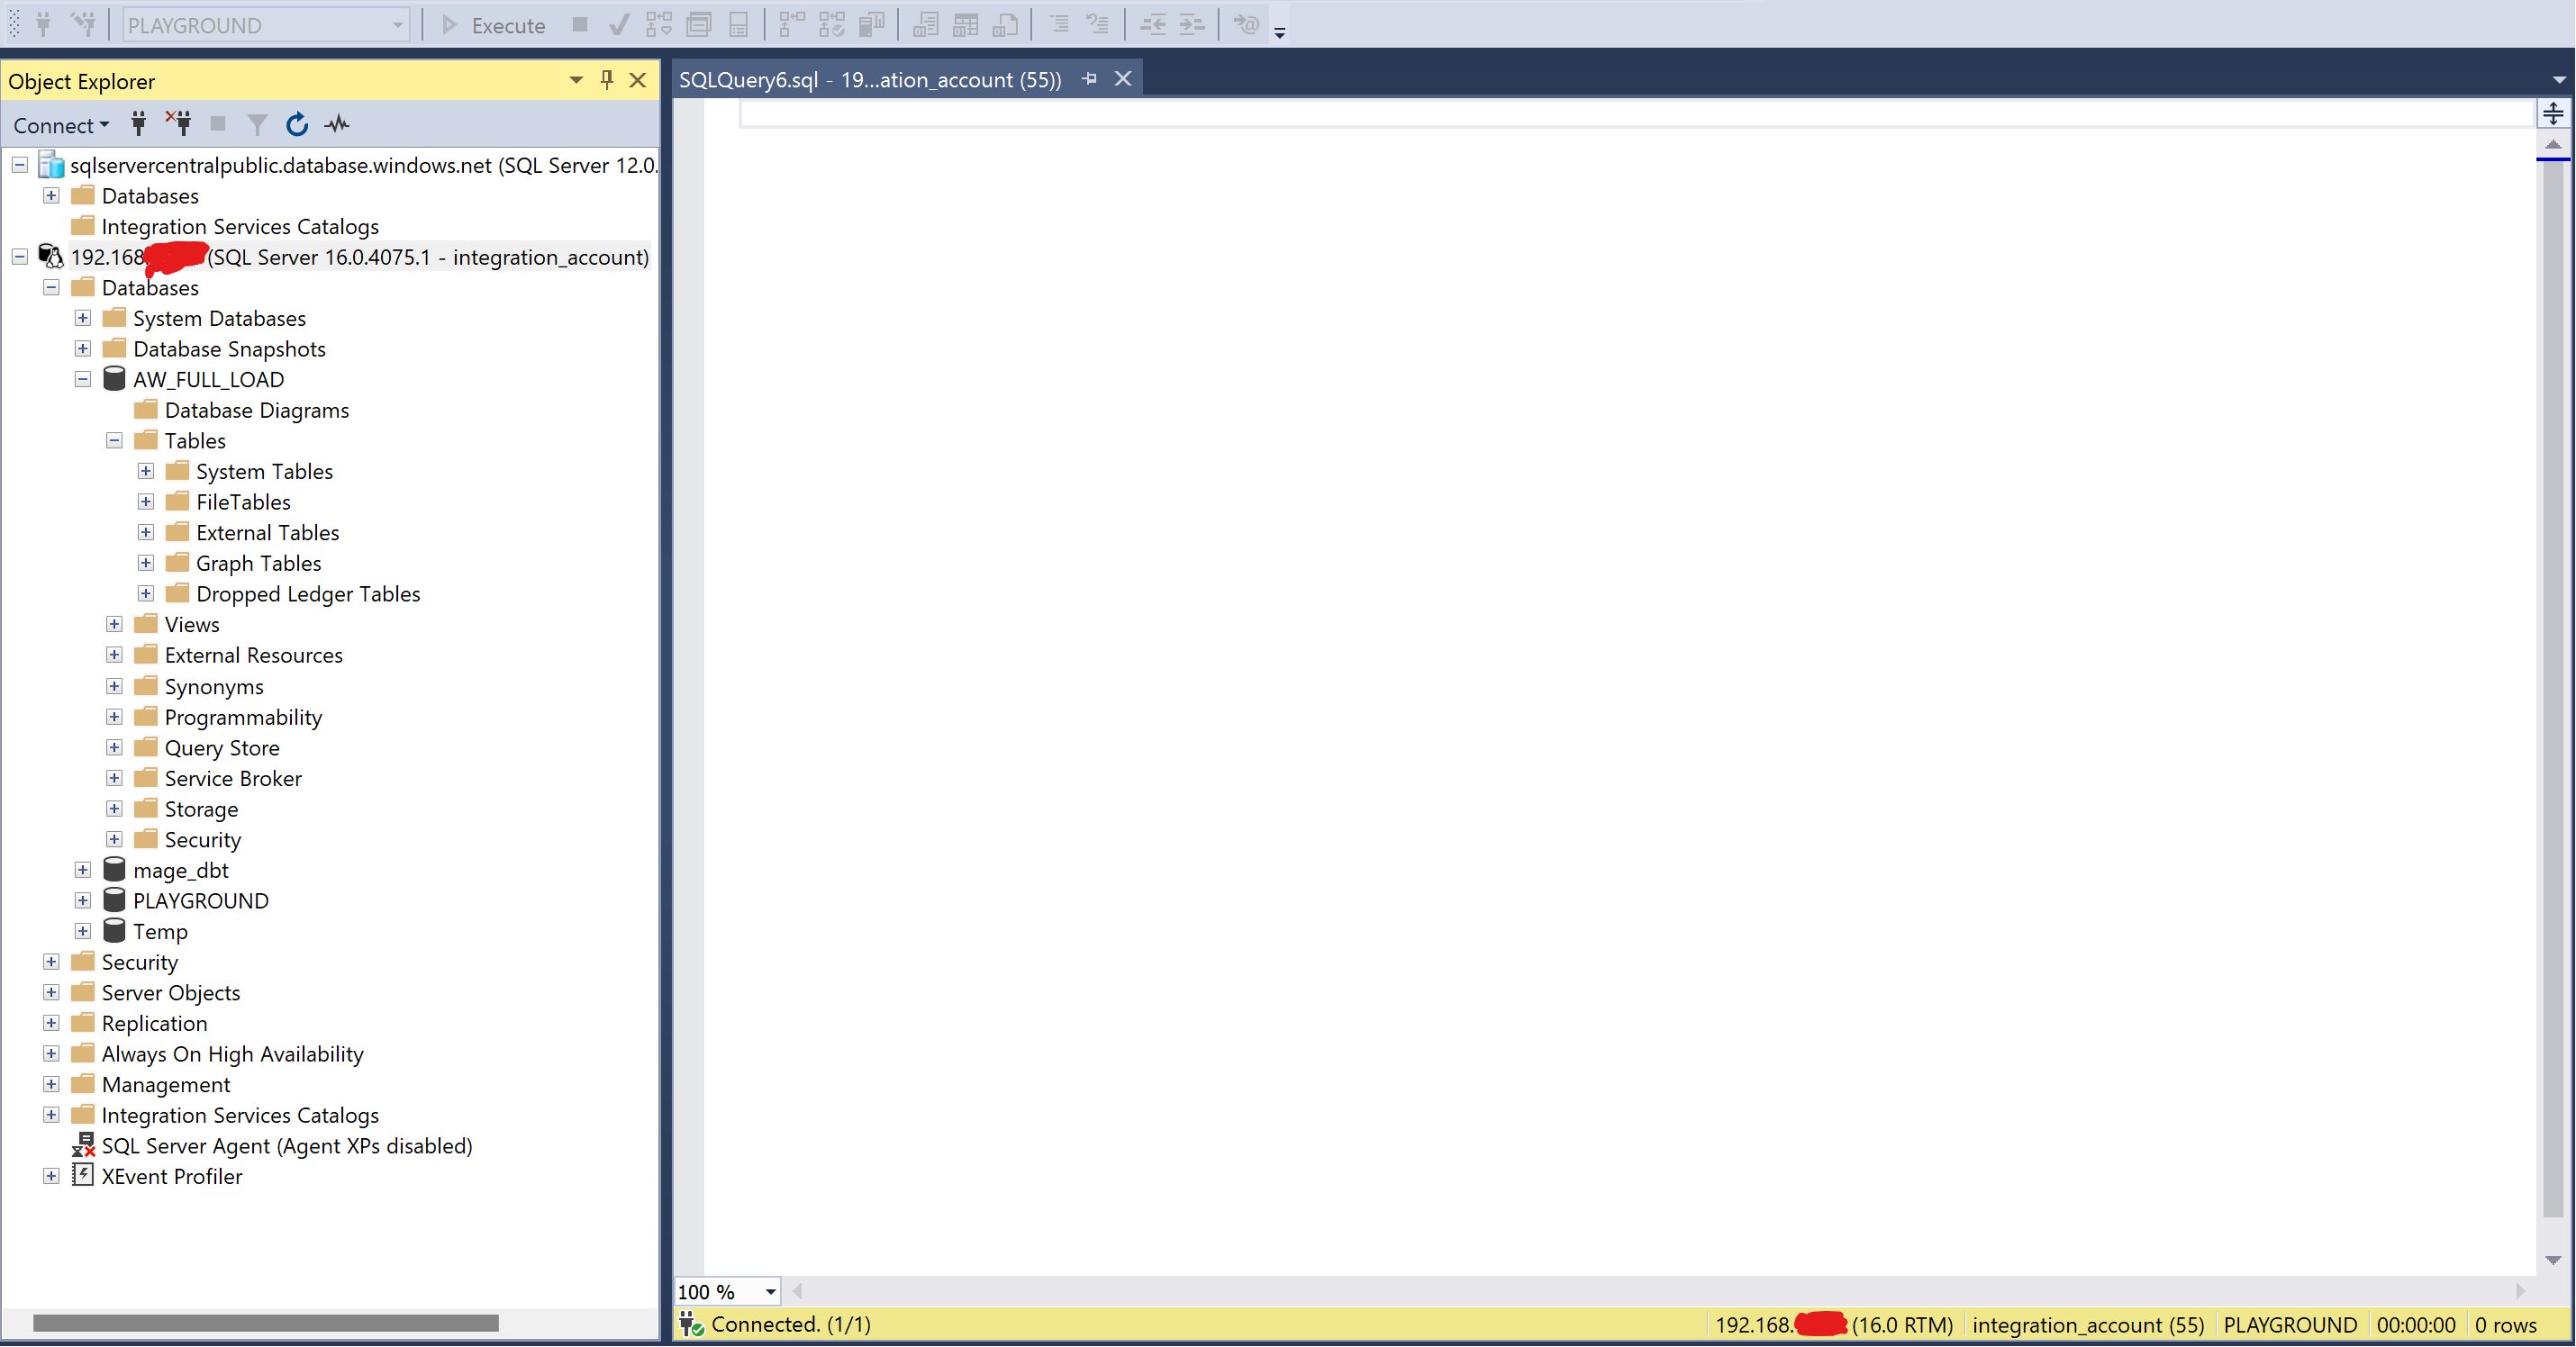
For the destination database, we envision a data warehouse – which, for illustrative purposes, is operated on:
- Macbook M1 Air 16GB RAM with Windows running via Parallels
- SQL server running via Docker on iOS
- Mage.ai instance running on iOS
We manage SQL Server and Mage.is on Windows using Management Studio and a browser.
- Host: 192.168.XXX.XXX
- Database: AW_FULL_LOAD
- Port: 1433
- Destination Table: FL_ADVENTUREWORKS_ADDRESS
- Login: integration_account
- Password: *****
Now we have everything we need.
Creating the ETL Pipeline in Mage.ai
Creating the ETL will consist of several steps. First, we need to:
- Configure new databases in the io_config.yml file – we don’t want passwords in the configuration file, so in Mage, we will use the secrets management function and refer to them in the configuration.
- Next, create a new pipeline and add 2 blocks to the new pipeline
- data_loader – connects to our source database and retrieves data
- data_exporter – connects to the destination database and uploads the data there
- Run the entire pipeline and check it
This configuration needs to be done only once for each new data source or target.
Configuring the io_config.yml file in Mage.ai
We will enable the Mage web server and take a look at how the file actually looks. We can see that after installing Mage.ai, there are some sample settings in the file, and these settings are under the default profile.
This profile is “templates repository.” We will look for the MSSQL section, copy it to the end, and modify the parameters to establish connections to our servers. We will create a new profile for each server. You can see that I have created 2 profiles – one for Adventureworks and one for the data warehouse.
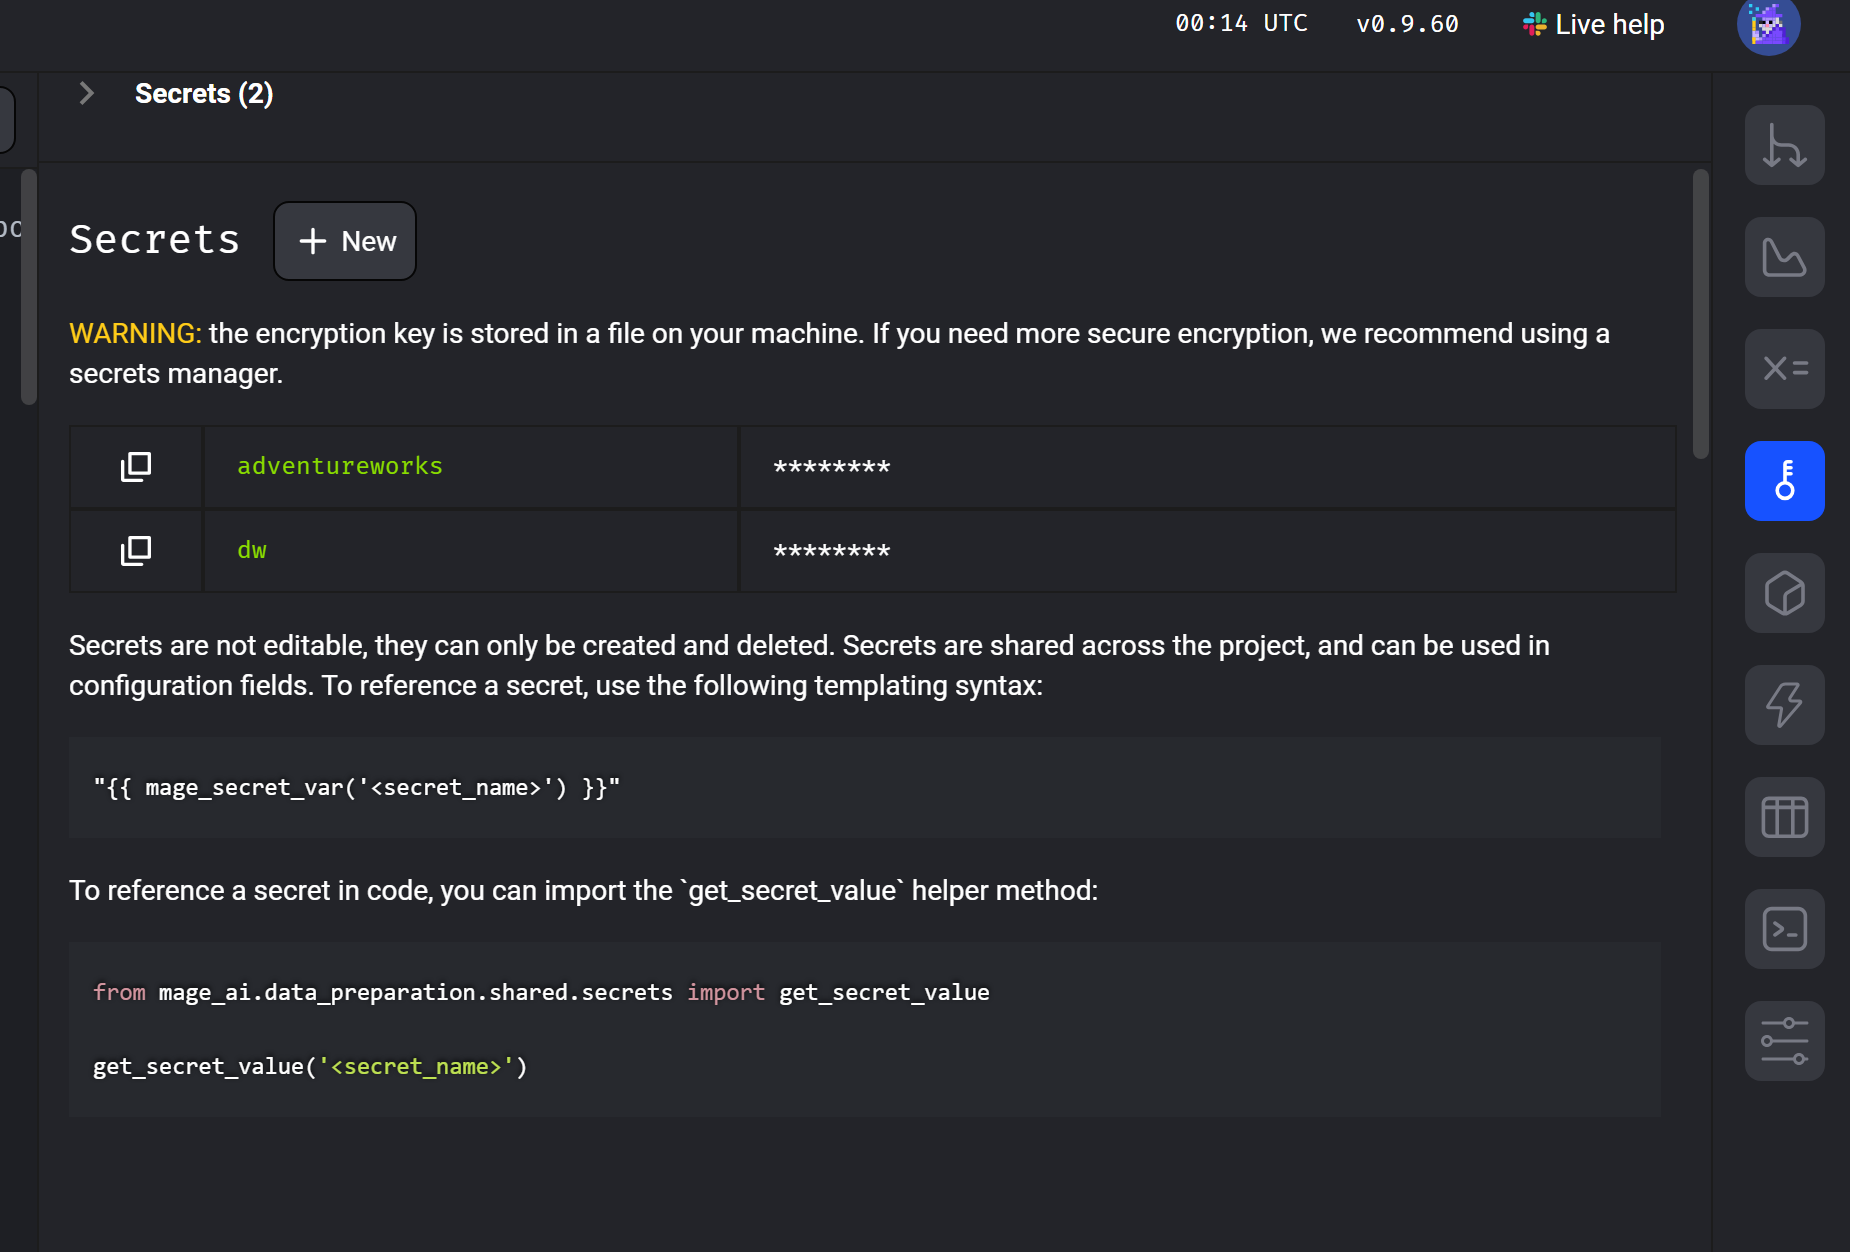
You may have noticed that we don’t have passwords in the configuration file – we never want that. In the application, we went to Secrets and created 2 new secrets. We will refer to these secrets in the configuration file.

Creating the data_loader in the pipeline
First, go to the pipelines section and create a new pipeline – standard batch type. We will name it appropriately later.
After creating the pipeline, it takes us to the environment where blocks are created – our data_loaders and data_exporters. First, let’s create a block that connects to our source data.
Click on Data loader – python – databases – MSSQL
After creating the data loader, it takes us to the pipeline definition, and we see a new block on the right. At the same time, a window for this Python block has opened. As you can see, everything is prepared, and we just need to slightly modify the code – we don’t have to write it, Mage.ai takes care of that for us.
The only two things we need to modify are the query and config_profile.
For config_profile, choose our profile from the configuration file: AdventureWorks, and for the query, write the query for our table
We test if the data loads – it looks okay.
Creating the data_exporter in Mage.ai
In the previous step, we have a block that can import data. Now we need to prepare a block that will upload this data to our destination database. This is even easier than with the data_loader. Click on Add Data Exporter and edit the pre-prepared Python script.
You can run the data_exporter and check if it completes successfully – everything is okay.
Your ETL Mage.ai pipeline should be configured and ready to go.
Running the Mage Pipeline and Testing the Data
It’s time for a small test. Let’s try running the Mage pipeline from the application and then check the destination in the data warehouse to see if the data is there.
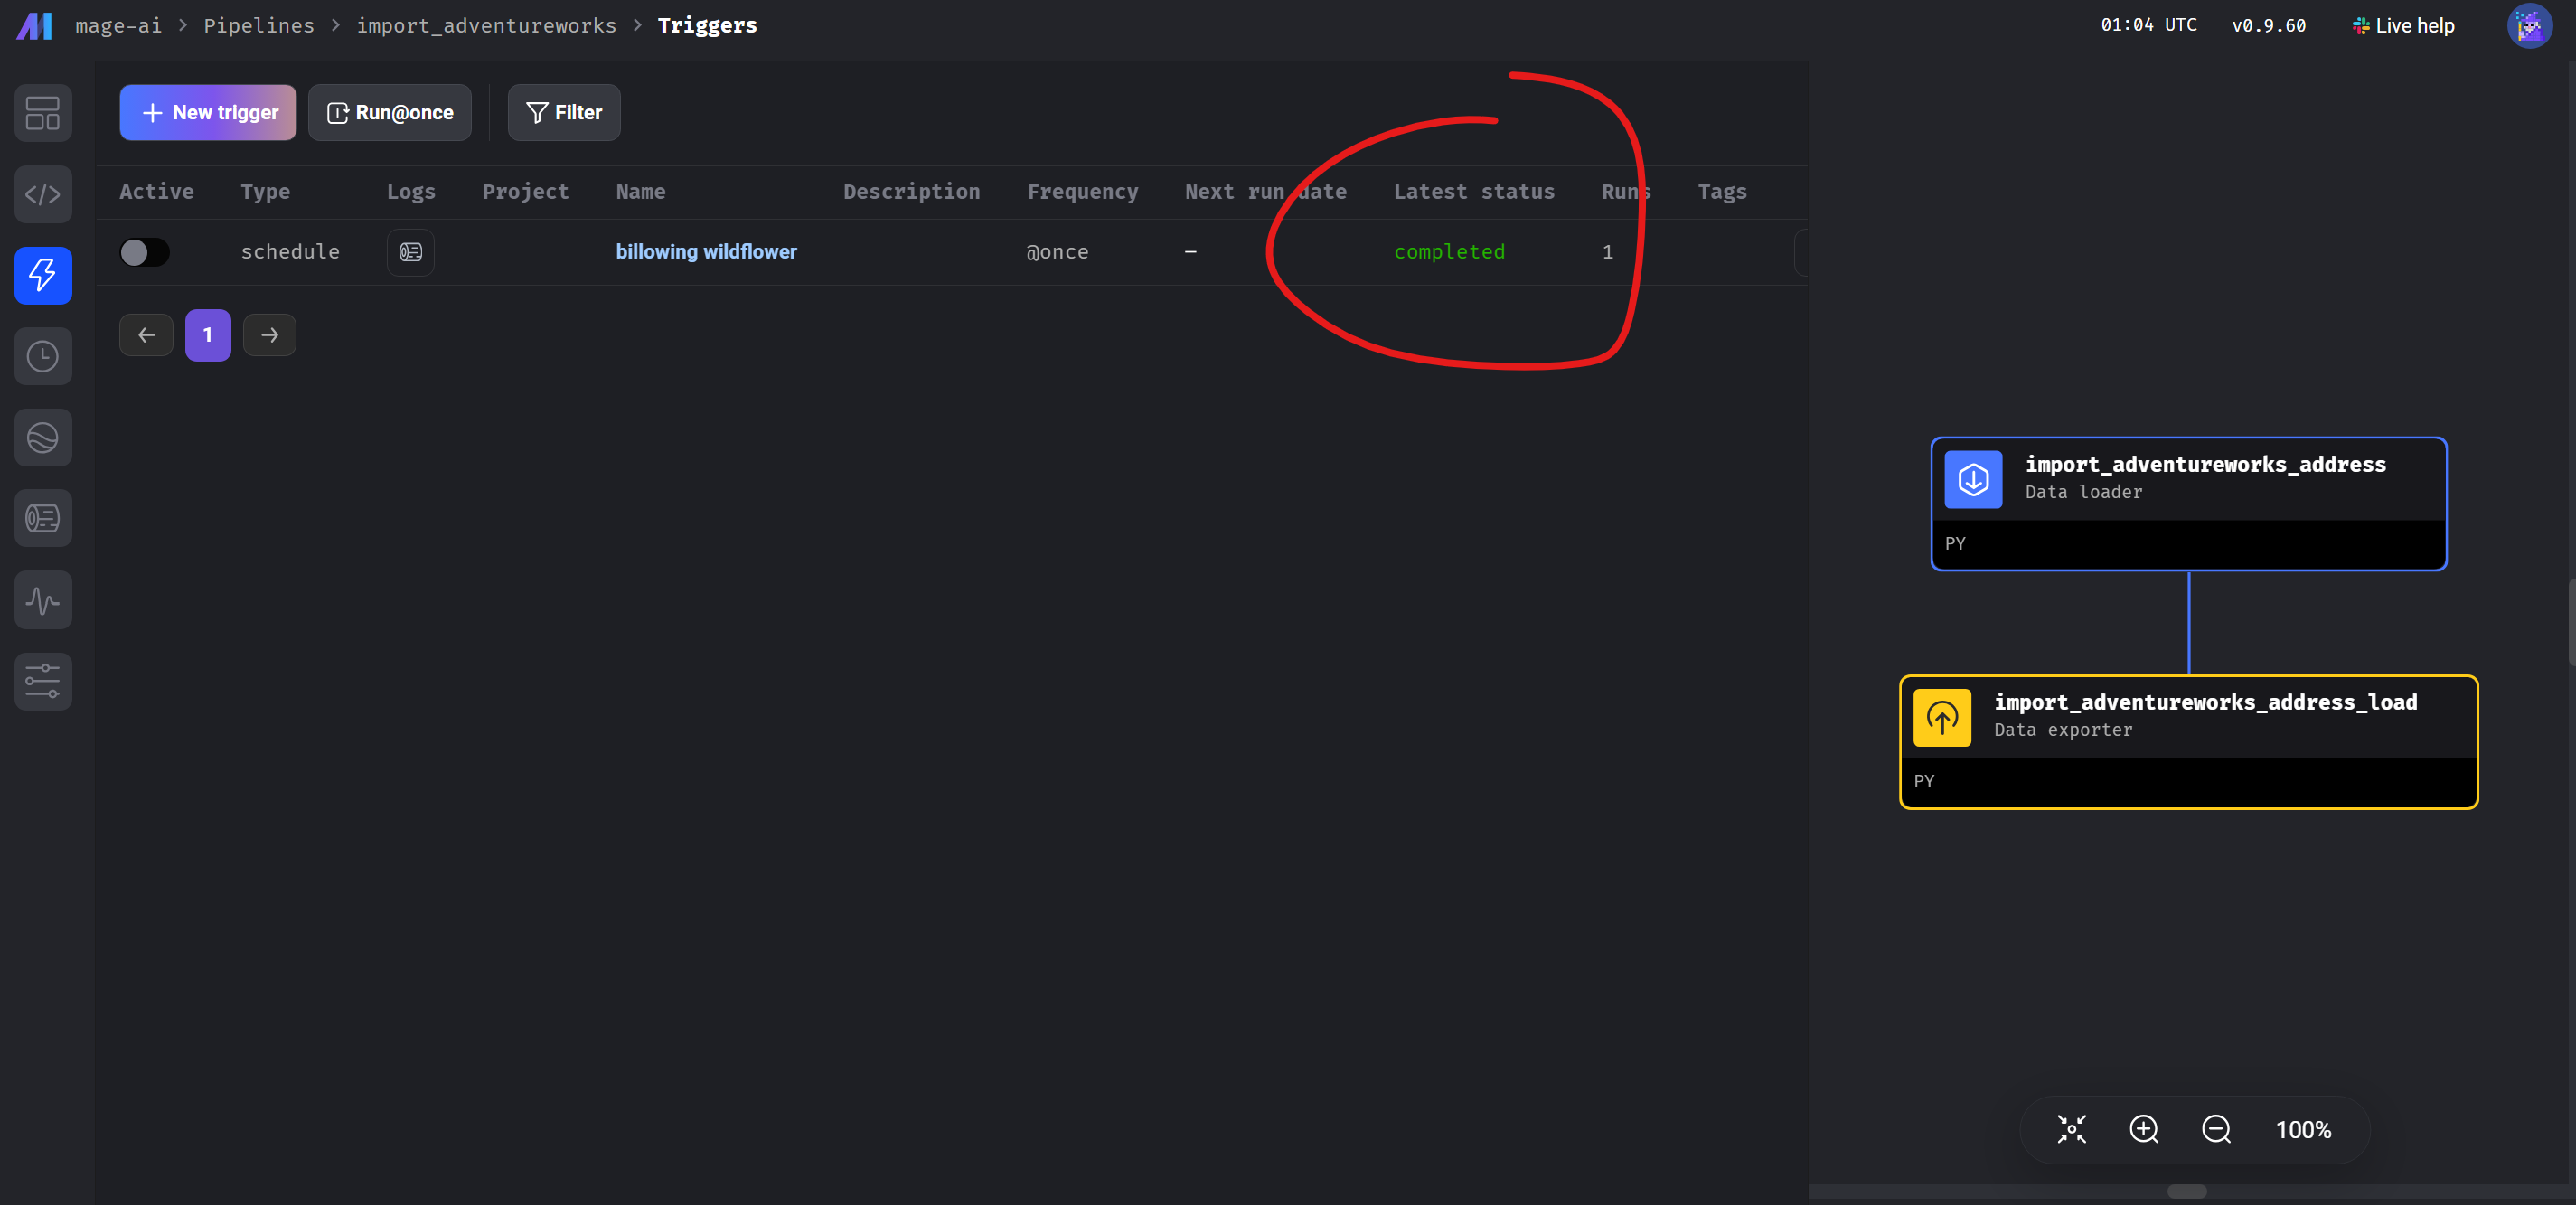
You can run the pipeline, for example, by running it once. Another option is to schedule it, and in this case, the ETL will run at a predefined time. In the screenshot below, we run the pipeline, and you can see that it completed successfully.
In the imaginary data warehouse database, we have new data:


