In previous articles, I showed how easy it is to set up your first data flow in Keboola, and we took a closer look at the fundamental elements of Flow, which are Keboola components and their settings. If the fundamental elements of each flow are components, then one of the key components in the entire architecture is Keboola Storage, or file storage.
Keboola Storage – Introduction, Free Account Limit, Tokens
Keboola Storage is a key element of the entire system. When you run a flow or individual component in Keboola, everything is processed through storage (loading files, storing in tables, etc.). Keboola Storage is divided into 3 parts:
- Tables/buckets
- Files
- Job storage (logs)
There is no limit on the number of files in storage, but in the Free version of Keboola, the total size limit is 250 GB, which is sufficient for smaller projects.
If you want to perform an action inside a flow at the storage level, you need to have a token created for that action, to which you will assign the appropriate permissions, such as reading for source components or writing to buckets for destination components. This token is then used in the configuration of the respective component.
Tables and Buckets in Keboola and the Difference between IN and OUT
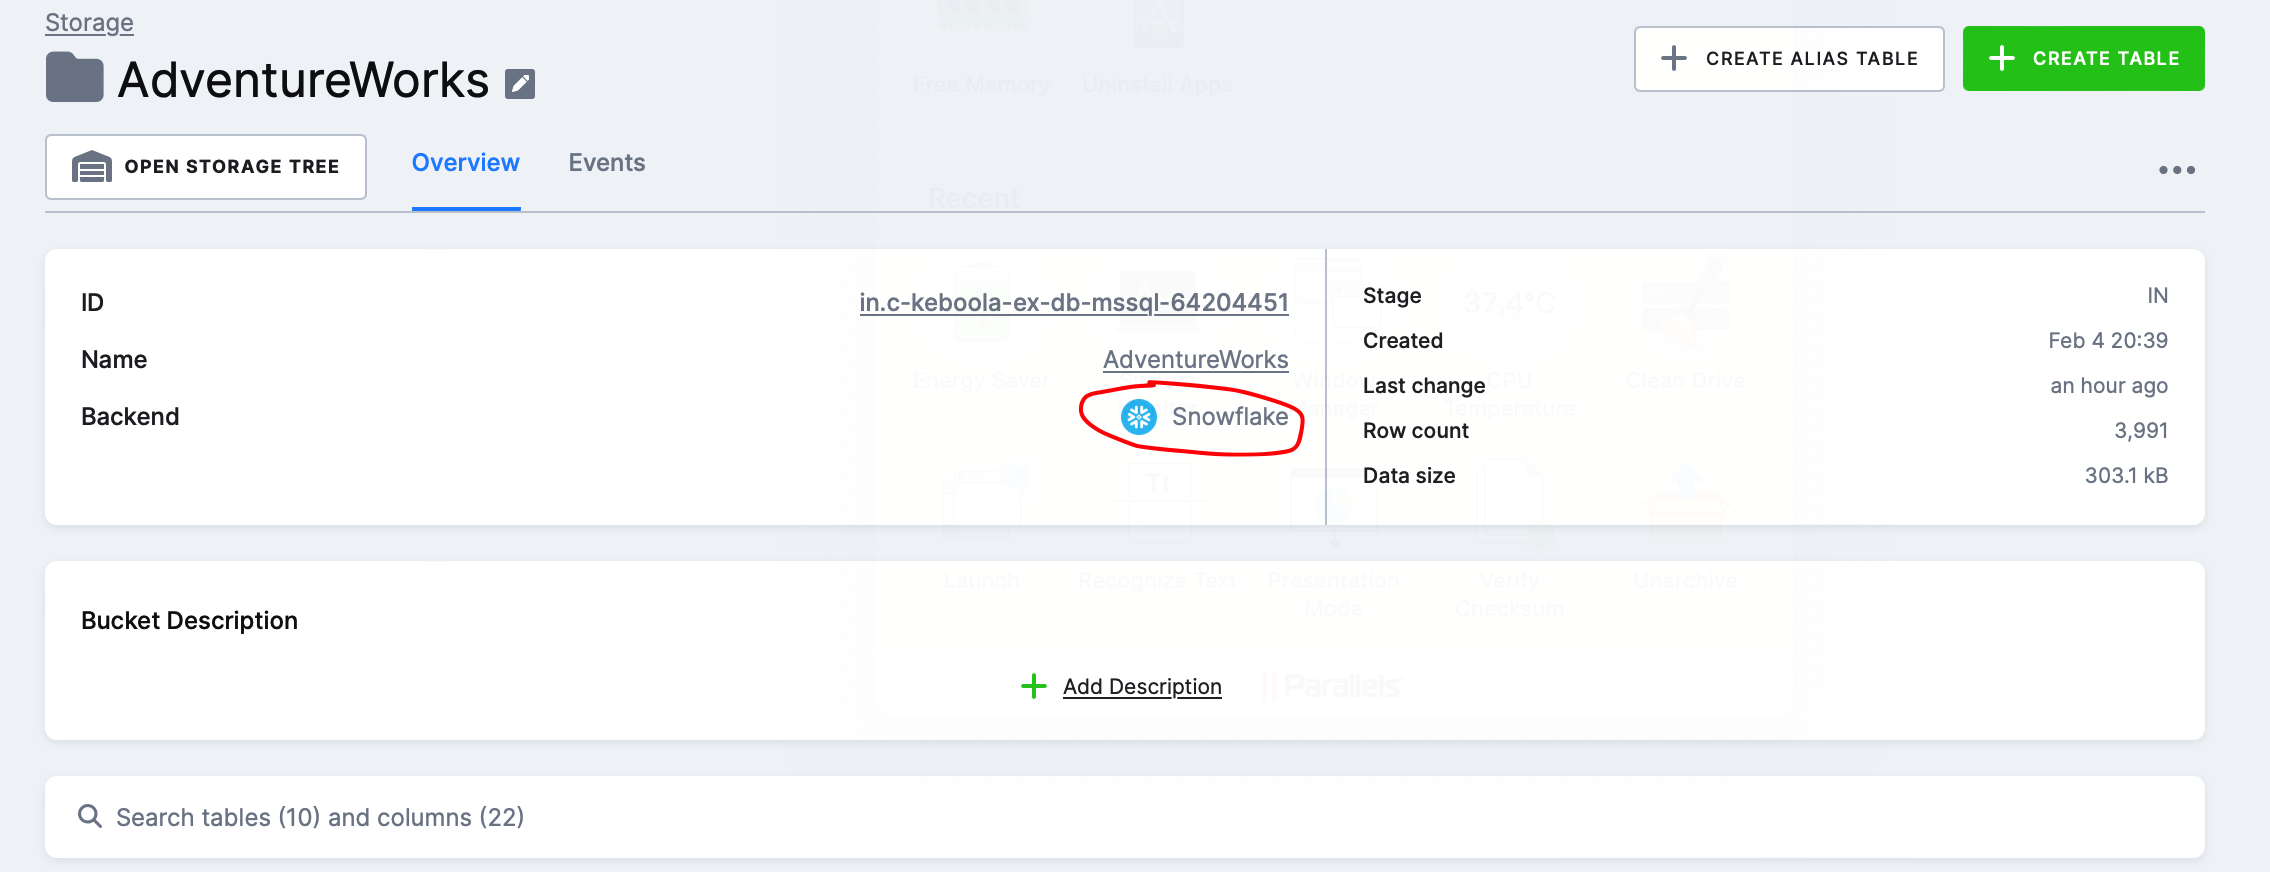
The first and probably the most important group are tables and buckets. Buckets/tables in Keboola are created on the Snowflake backend, so your project, which you use with Keboola, serves as the storage for tables when dealing with third-party loads. According to the Keboola documentation on storage, this should ensure faster processing and greater scalability.
IN and OUT Buckets in Keboola
When you click on Keboola Storage, you will see a page with all the buckets you have created, as shown below:
You can notice that for each bucket, it is marked as IN or OUT. This is an internal tag that serves to indicate:
- which data serve as input for a transformation or are part of a loading component in the case of IN
- which data result from a transformation or, for example, the final table we imported in the case of OUT
You can label buckets as needed. In the screenshot above, there are 4 IN buckets because I have 4 flows. These IN buckets contain tables that we import through a source component, as further explained.
Keboola Flow Processing in Terms of Storage and Performance
Keboola automatically creates an IN bucket for all source components and stores tables in it before sending them to the destination component.
In the screenshot below, you can see that the AdventureWorks IN bucket contains several tables loaded via the AdventureWorks_Sqlcentral source component and serves as an intermediate layer for processing the flow that includes the component. This layer can also serve as an auditing element, for example, when tracking data discrepancies (the last batch uploaded is visible here).
Performance Note: This method of processing Flow will be significantly slower than sending data from point A to point B directly, for example, via SSIS Kingswaysoft (which also offers a range of connectors to various systems). For example, in the case of our flow SQL Server Database – Google Drive, where we only have source-destination components:
- We read data from SQL Server (source component)
- We save it to the Snowflake table bucket IN (source component)
- We retrieve data from the Snowflake table bucket IN (destination component)
- We save data to Google Drive (destination component)
This will generate overhead costs for running jobs, which we might not want if we only intend to use Keboola as a pass-through platform for our data (source-destination). However, Keboola functions as a Data Platform as a Service where connectors together with databases (your Snowflake), and storage are all part of the service. Using Keboola extensively as a pass-through platform without a database/storage will generate increased overhead, at least in the Free version.
Preview of Table Details
I really like the table details, and it feels very organized to me. On the overview page, we have some basic information about the table along with sample data. I can add a description to the table and individual columns.
Furthermore, I can see what events have occurred with the table, view sample data, check the last usage by components, or even create a snapshot of the table.


