

In the previous part titled ETL | Keboola Free – Creating a Project, Basics, we did a basic introduction to the application. We went through the process of creating a project and also briefly explored the Keboola structure and menu. Today, I’d like to show you how easy it is to create a Keboola flow. In Keboola, a flow is the term used for a pipeline, data flow, or data stream (whatever you prefer).
Keboola Flow – Introduction and How to get Data from SQL Server to Google Drive
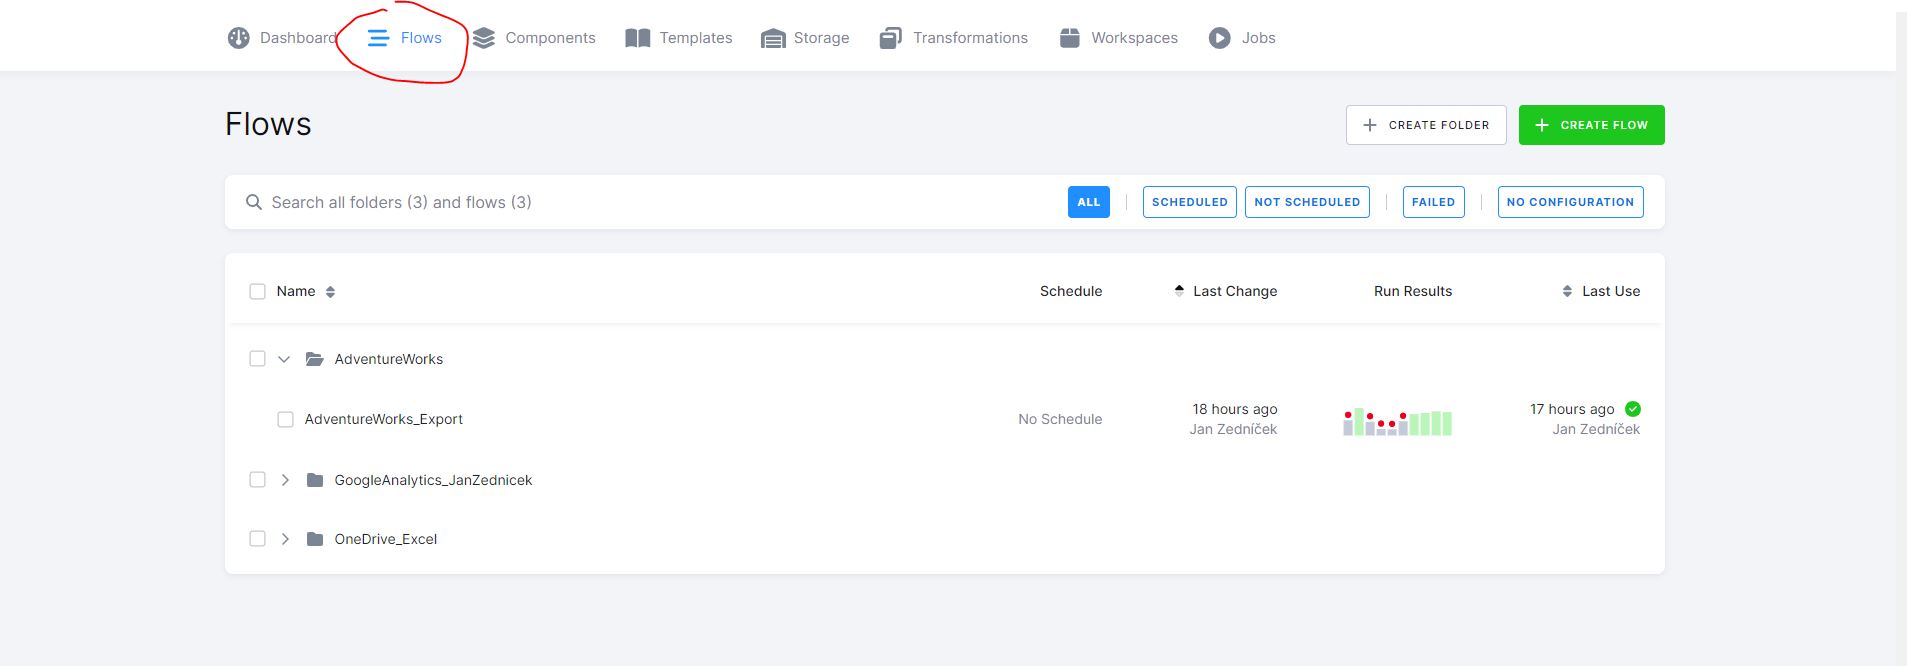
You can find the Flow option in the top menu under the Flow section (formerly called orchestration in older versions of Keboola).
Task – Our task is to import data from a source to a destination, where:
- Source – AdventureWorks database SQL Server AdventureWorks – we are interested in the “Customer” table.
- Destination – our target destination is my Google Drive folder Keboola_GoogleAnalytics/janzednicek_flow.
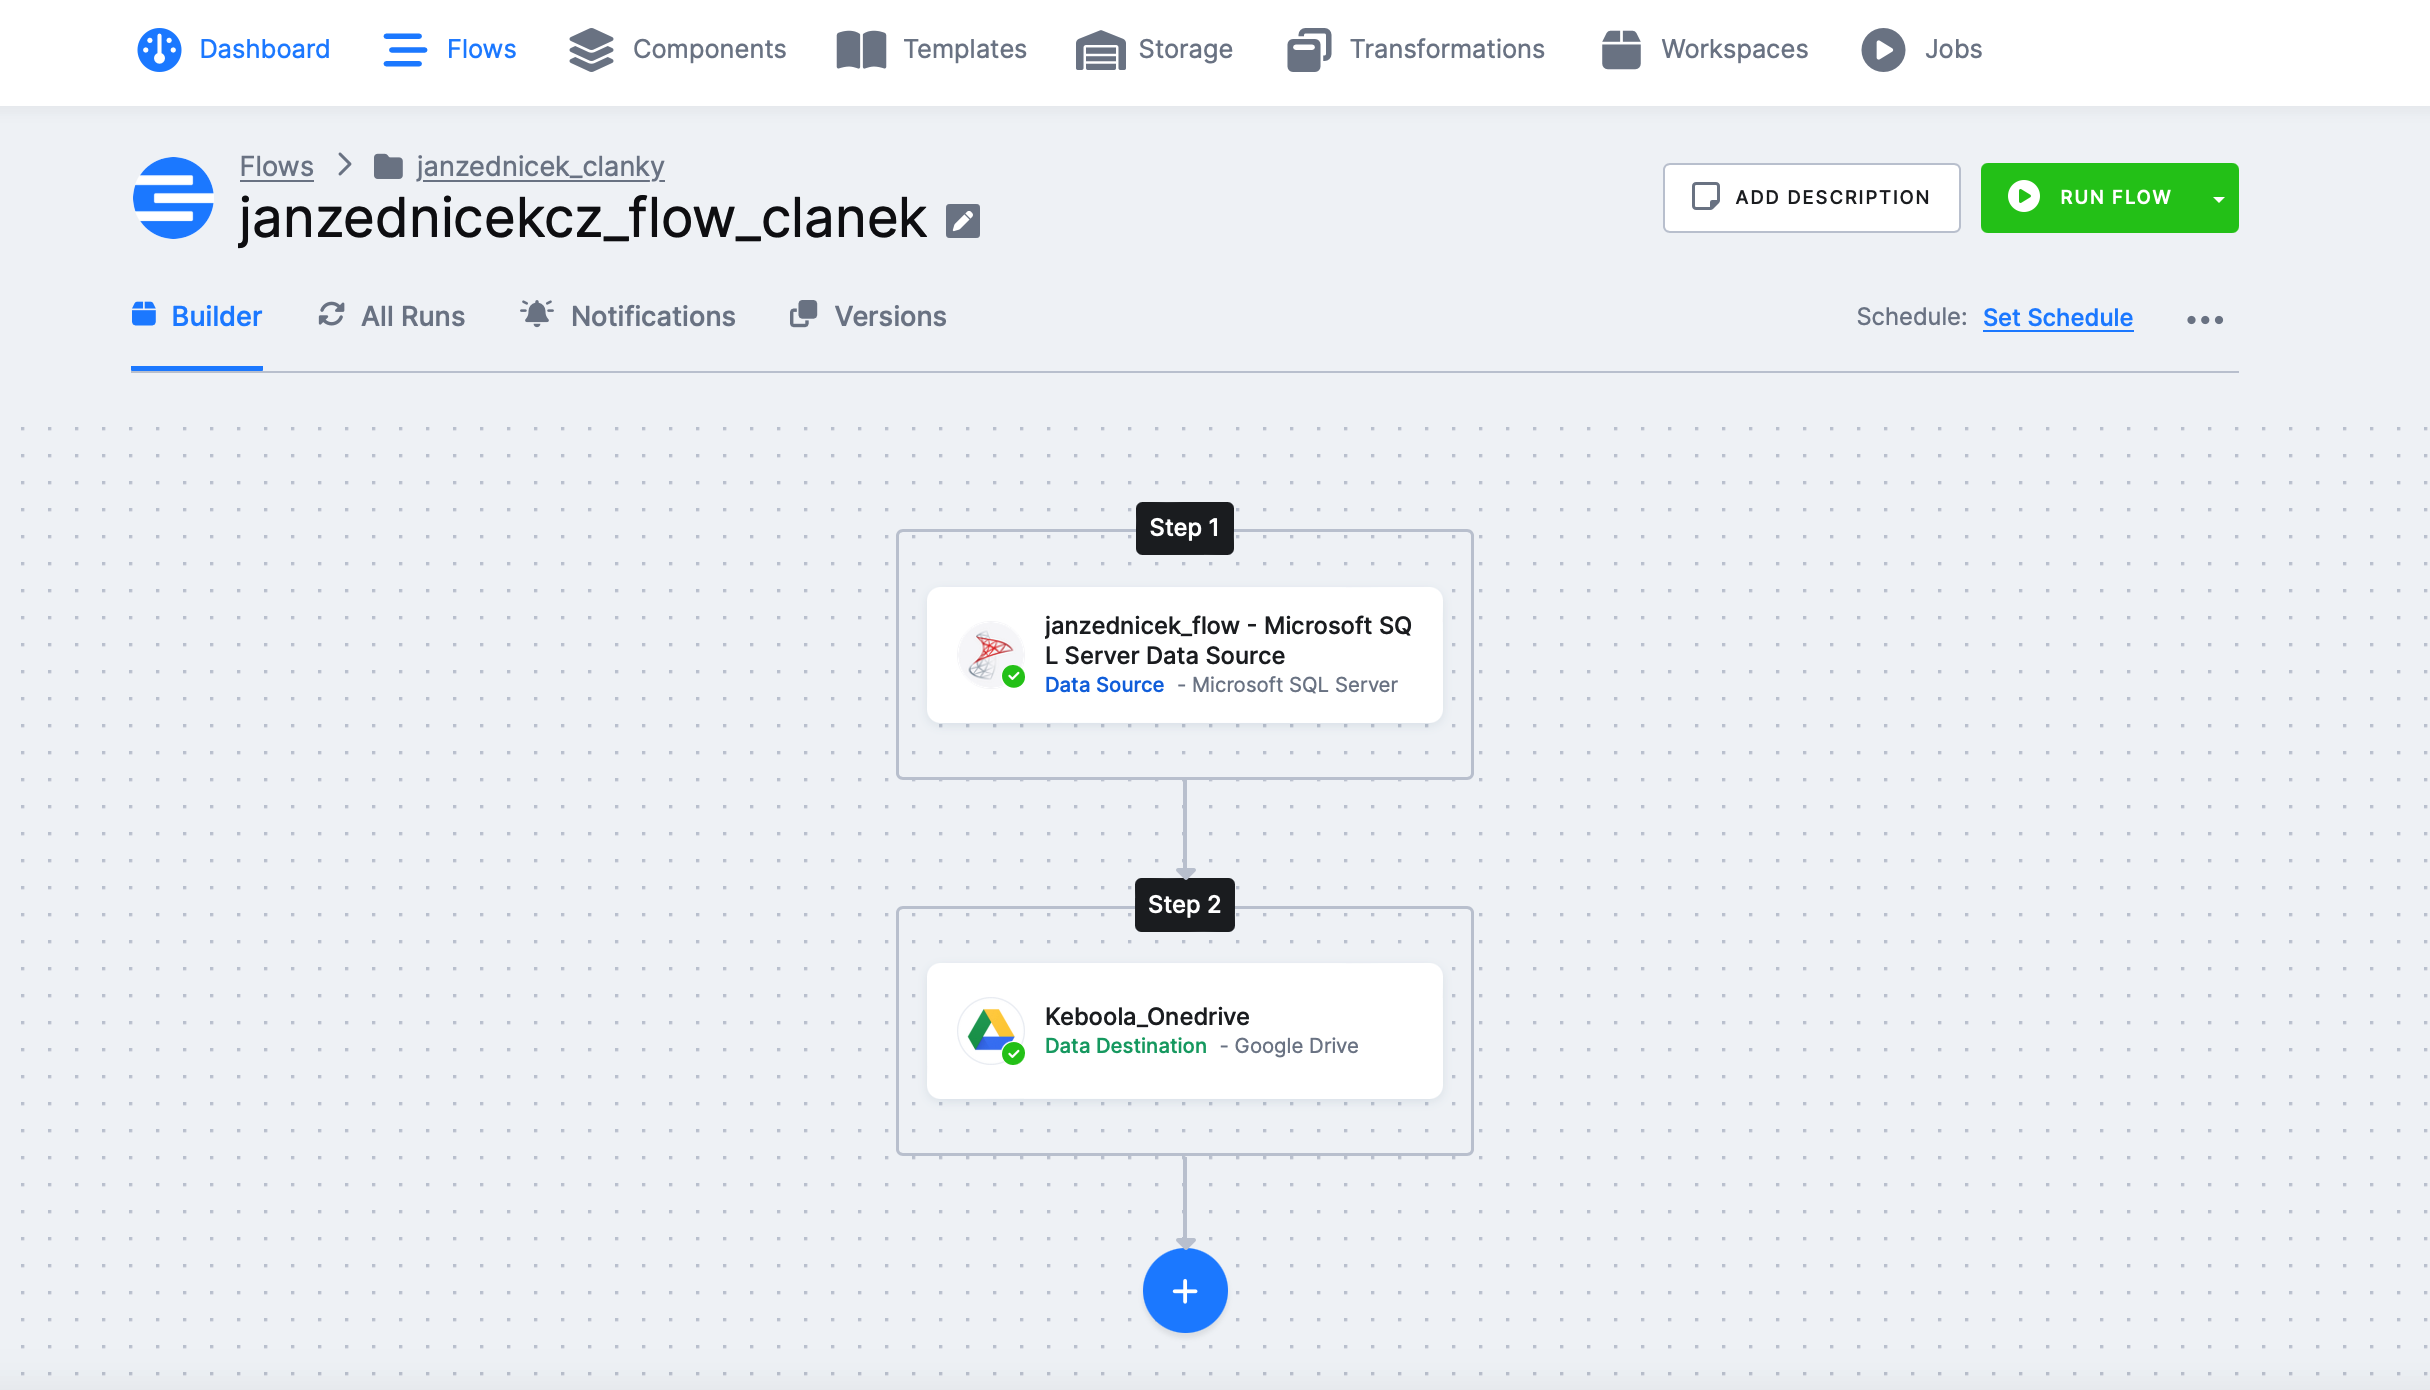
Overview of the flow we will create in this article
- Total Time – it takes approximately 10-15 minutes to set up this flow.
- Source Table – Customer (850 records) on SQL Server
- Destination Table – Customer on Google Drive
- Total Run Time – 1 minute
- Costs – 0 CZK
Setting Up the Data Flow Source Component in Keboola, Advanced Mode
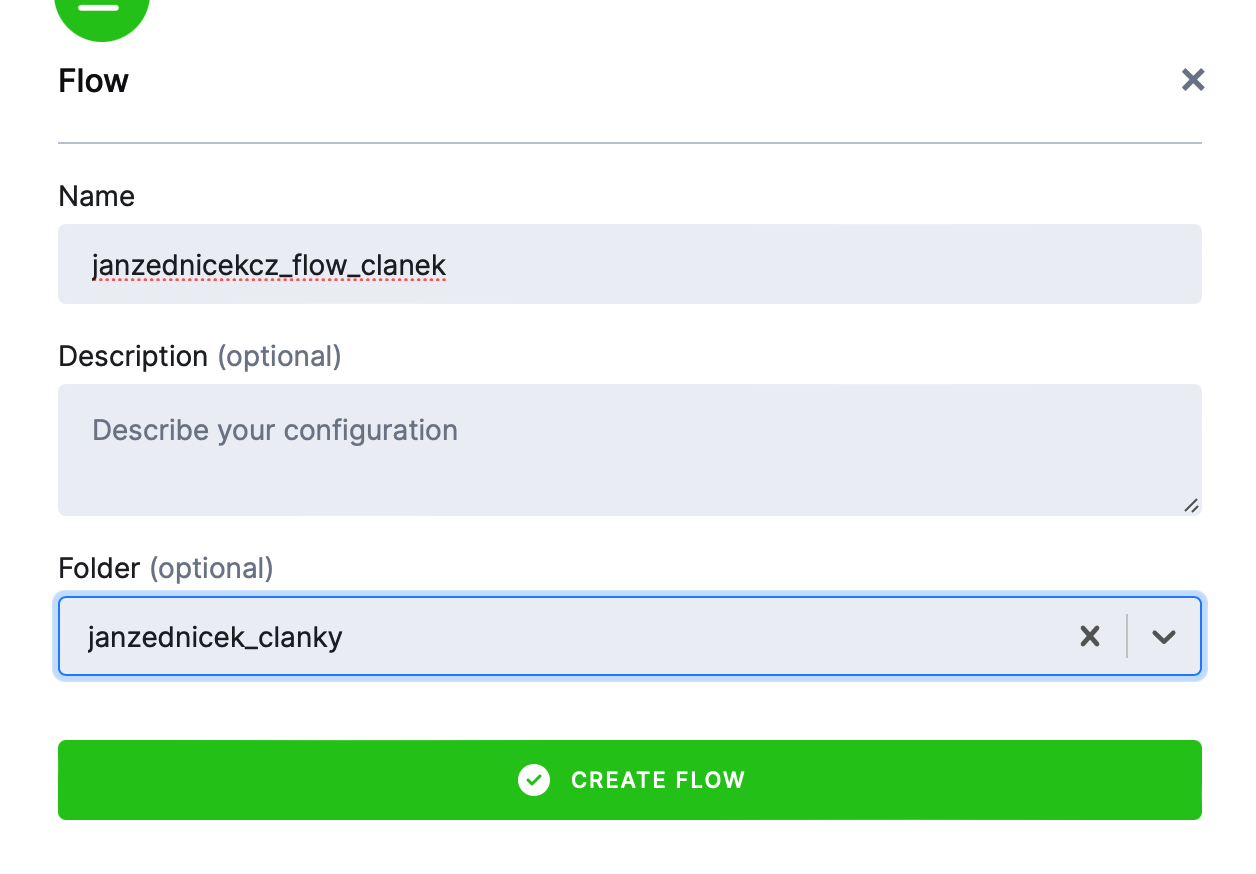
1) Setting Up the Flow – Click on “Create Flow,” and a window will appear asking you to enter the name of the new flow and optionally the folder where you will save it.
- Name – janzednicekcz_flow_article
- Folder – janzednicek_articles (I expect to have multiple flows)
Flow Environment – Keboola will take us to the environment of the flow we just created. On this screen, you have the option to:
- Select First Step – which means creating the flow from scratch
- Use Template – Keboola provides several templates (I assume more will be added) that you can use as a starting point
We will choose SELECT FIRST STEP.

Selecting the Data Source Component – After clicking “Select First Step,” you need to choose the component to which you will connect. In our case, it’s Microsoft SQL Server Data source.
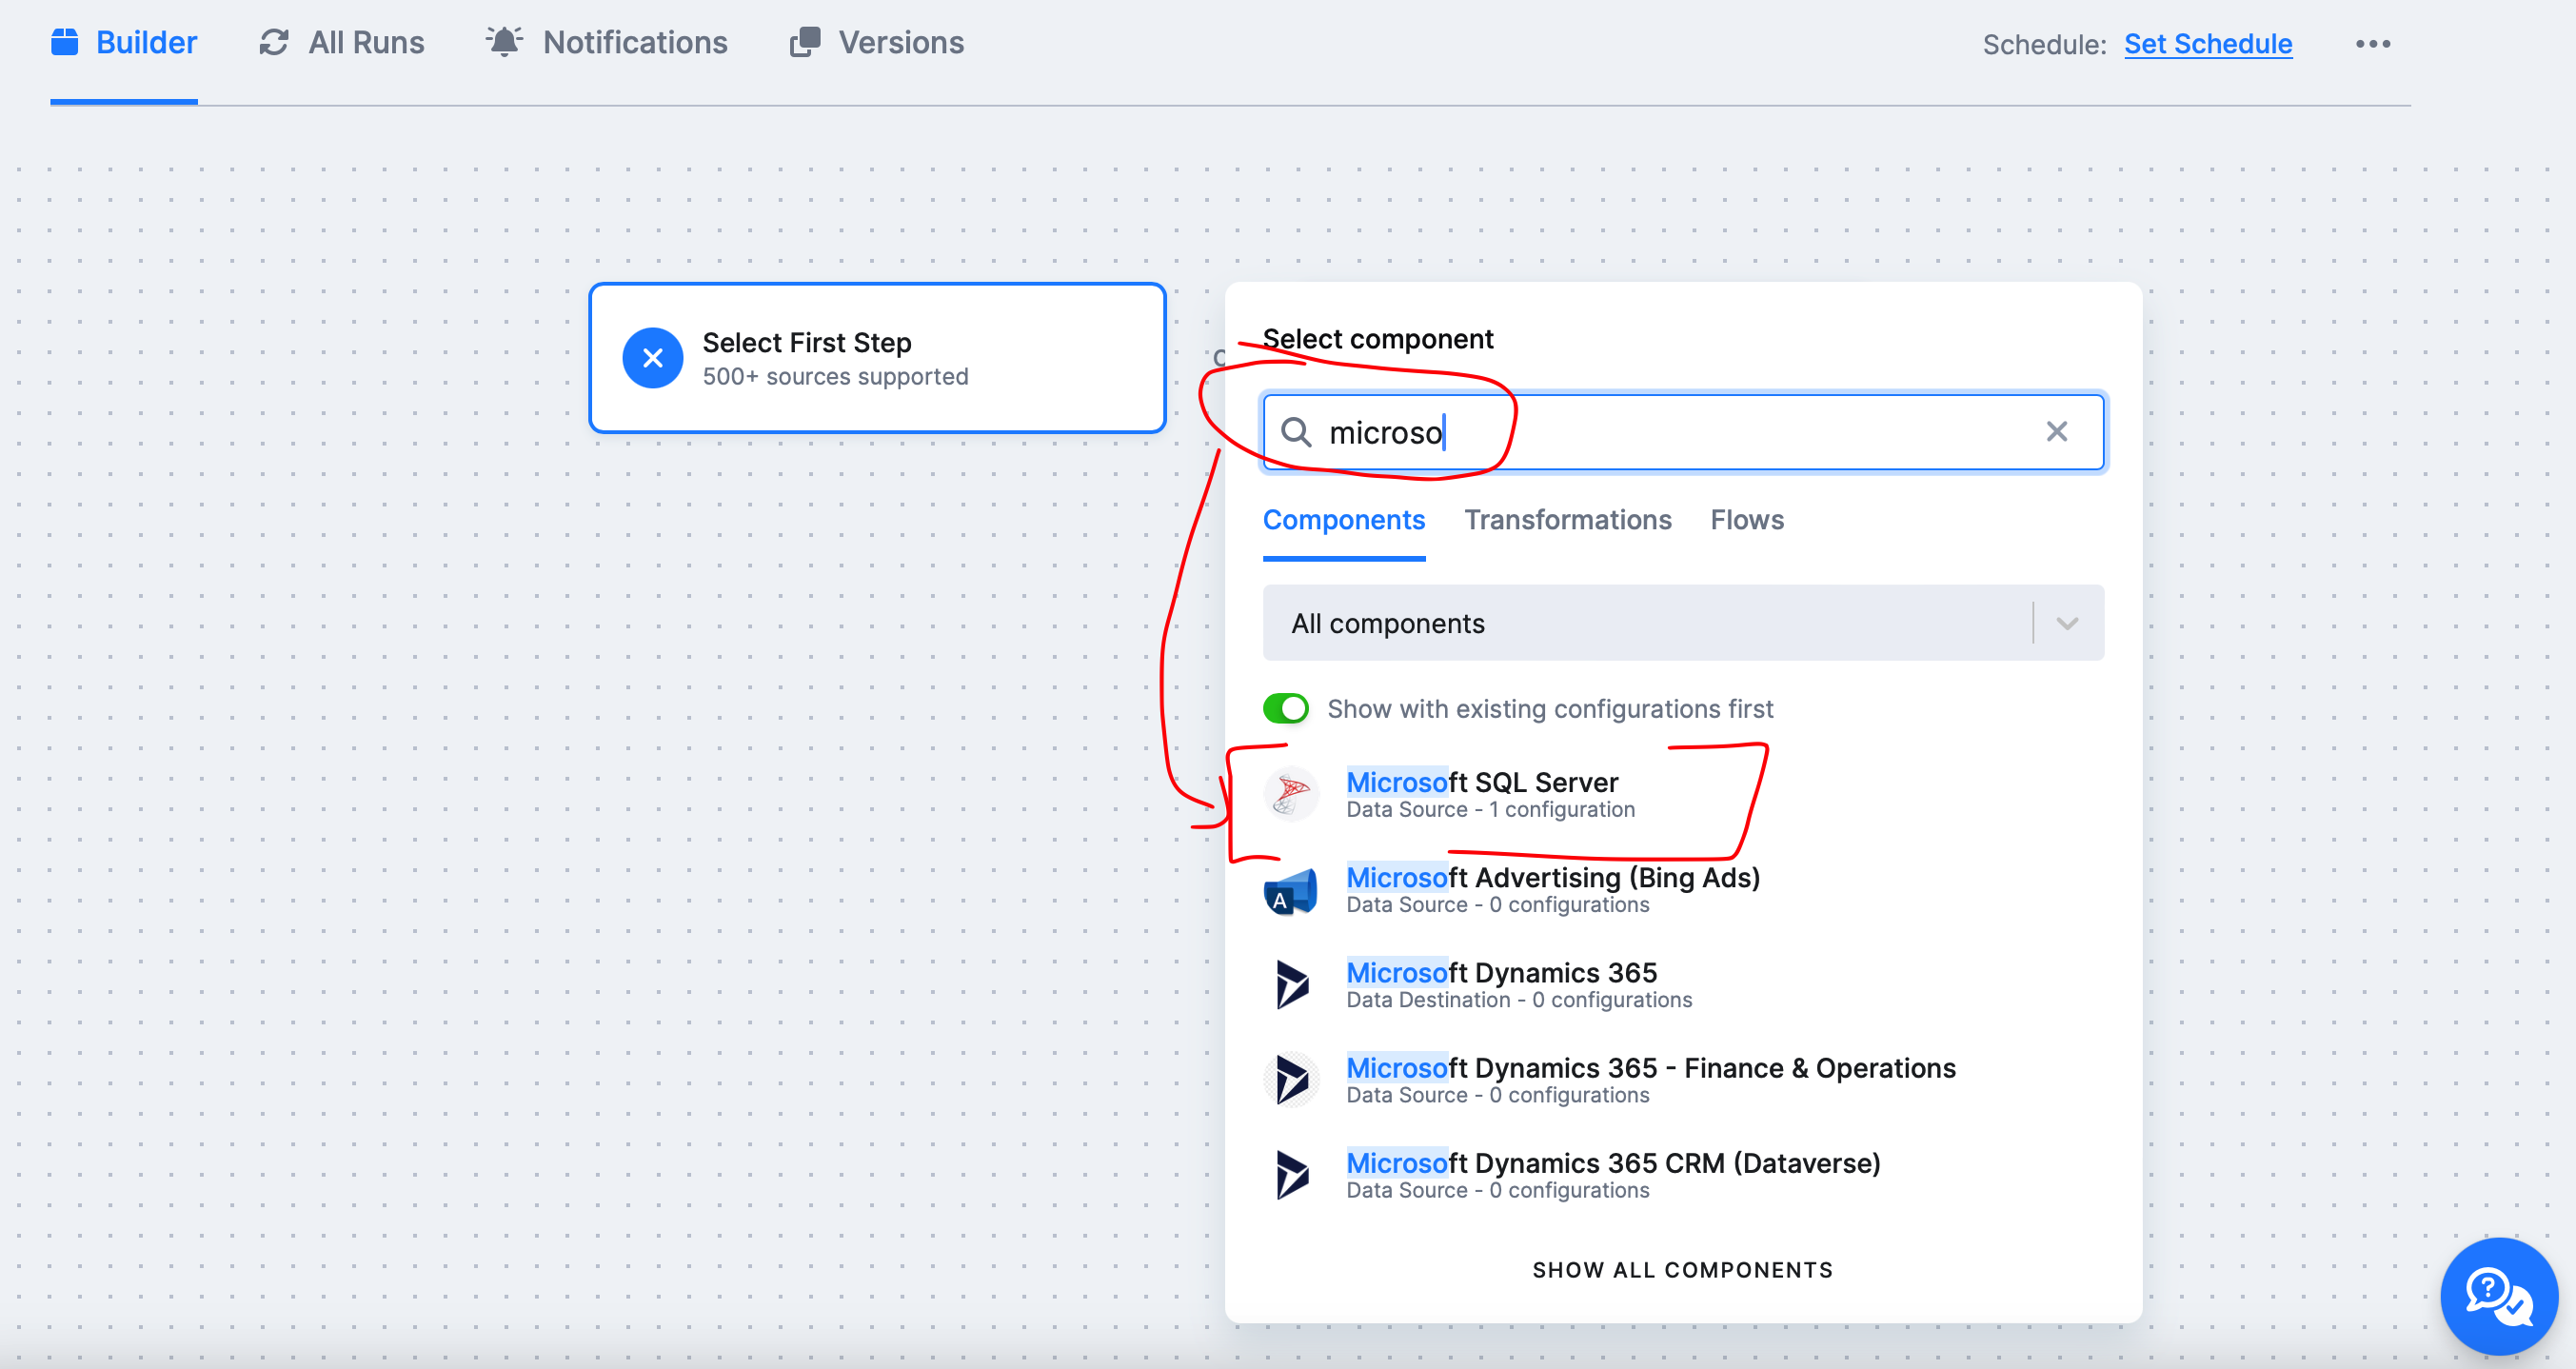
Click on Create Configuration and give your configuration a name. Configurations can be reused, so it’s a good practice to name them sensibly.

Fill in the login details and click on “Test Connection and Load Available Sources.”

If Keboola successfully authenticated to the data source, it will automatically load all available tables under that account.

Advanced Mode – You may want to load data as easily as shown above, but you can also load data via an SQL script if you need to modify or exclude certain data. In that case, click on “Advanced Mode.”
In the advanced mode, you can define various additional settings for individual tables, or you can create a new object and insert a script. Let’s take a look at the settings for the “Customer” table, which we need to download. I will cover advanced mode in a separate article.
In advanced mode, you can set:
- Select Columns
- Name and Storage Settings in Keboola Storage
- Incremental Fetching
- CDC – if enabled at the source
- Based on a column (e.g., modified)
- Primary Key Setting, Nolock Option
- Write Query Option


Selecting the Table – Stay in advanced mode, go back one step to the table listing, and leave only the “Customer” table in the list, removing the rest.

Setting Up the Keboola Destination Component – Google Drive
10) Google Drive Destination – Return to the Flow and select the next component – Google Drive.

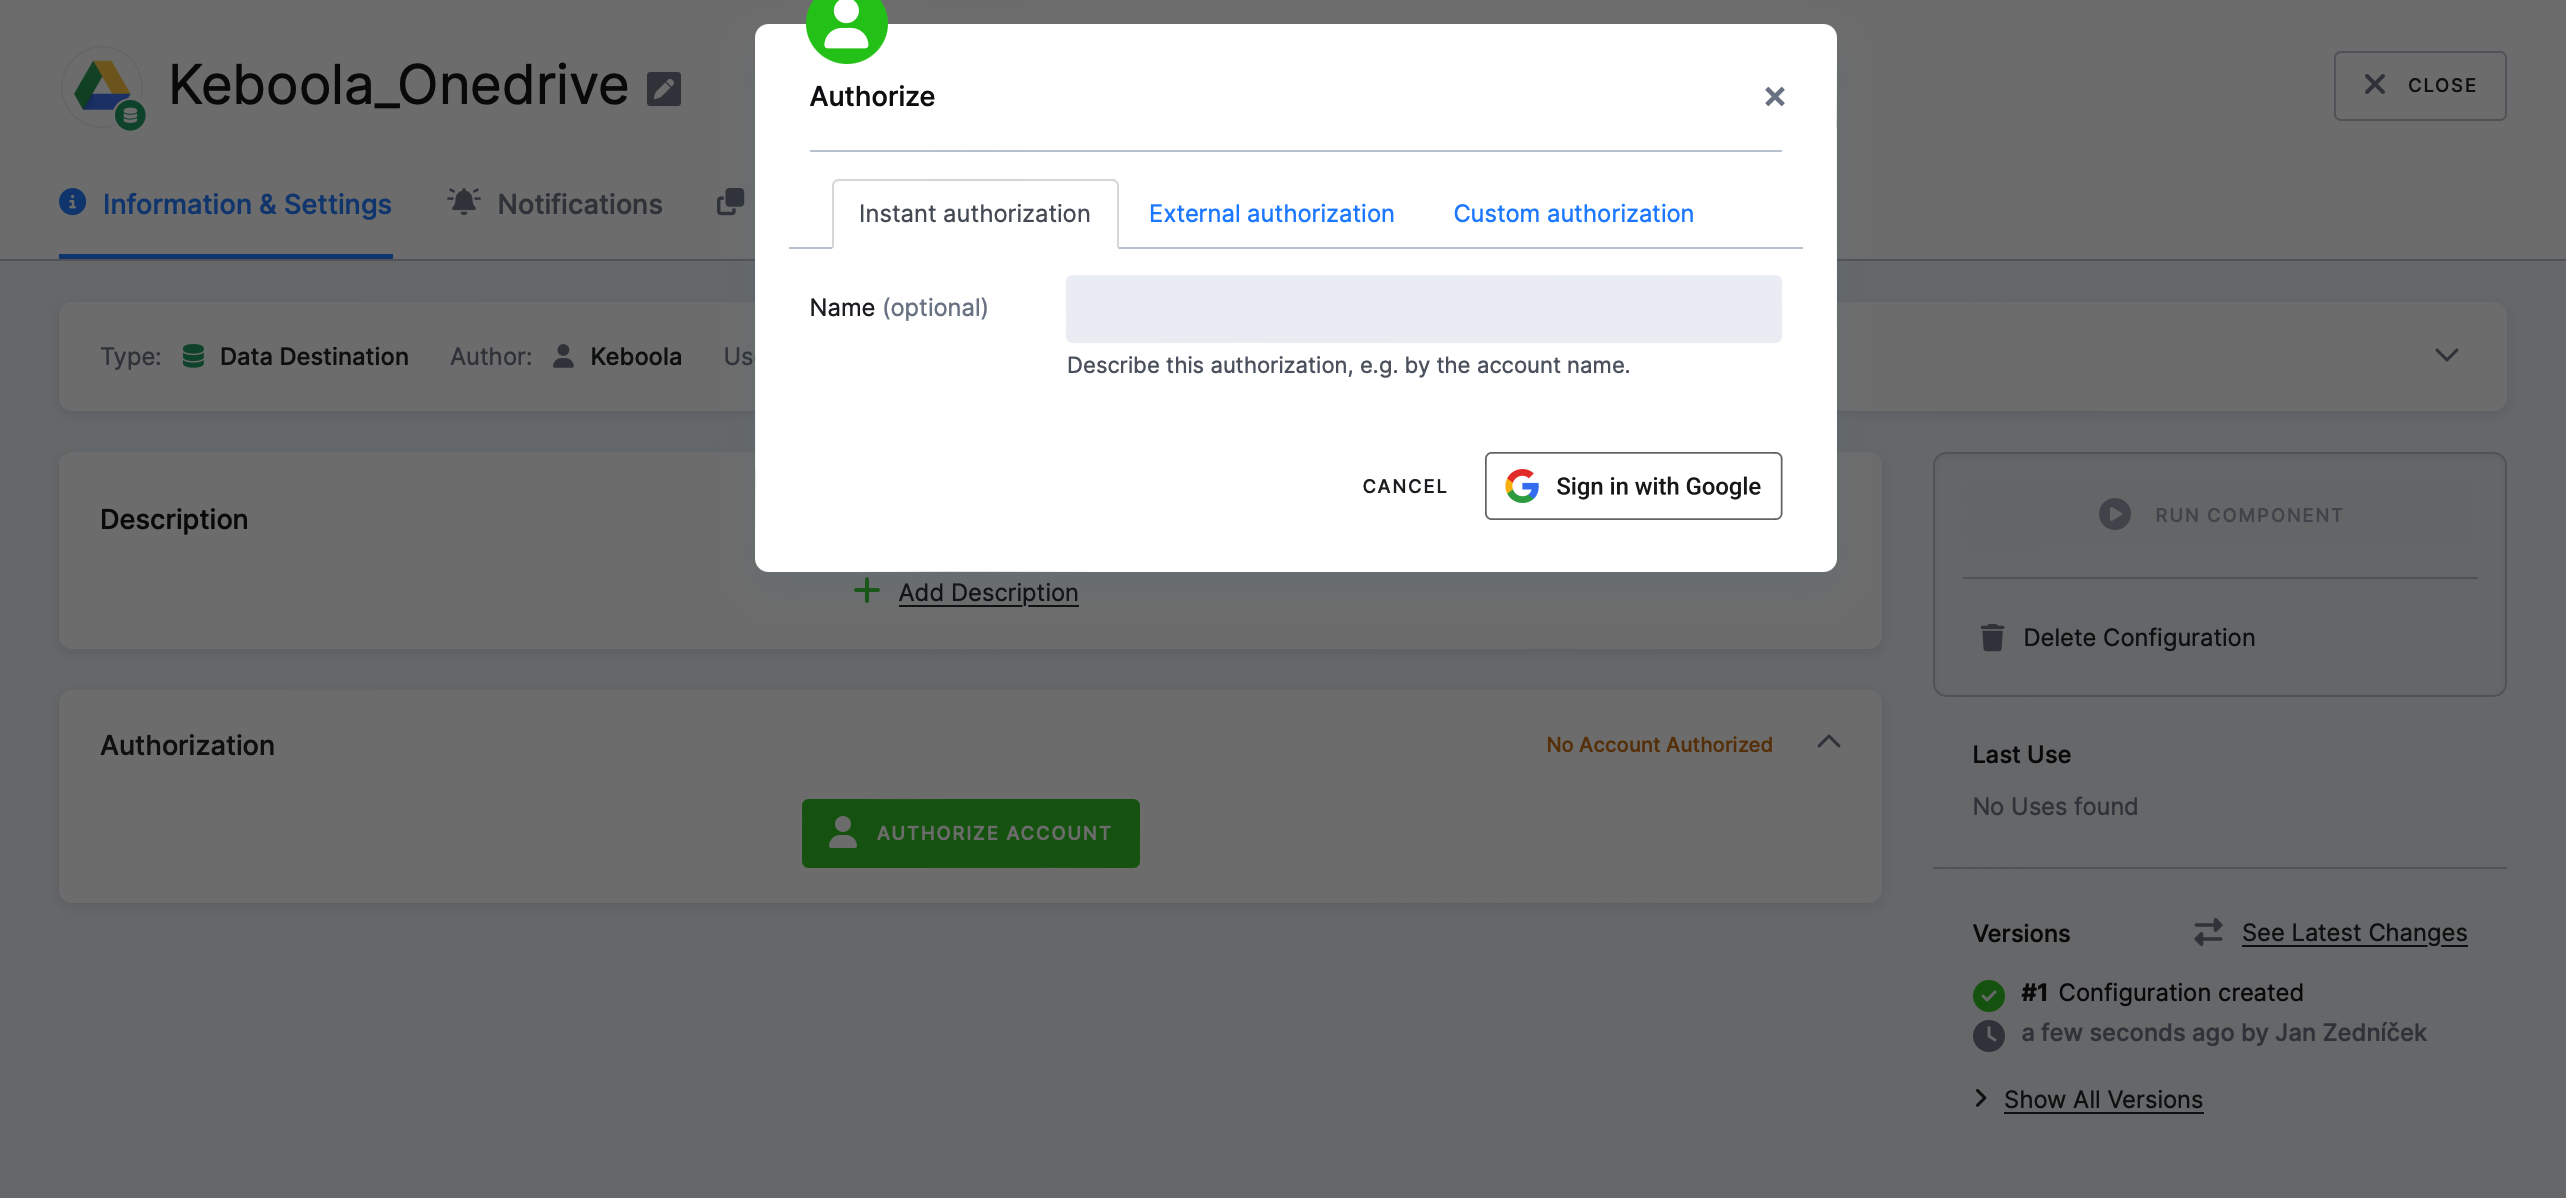
Authorization – Authorization settings for the component can be done in three ways:
- Online (instant) authorization, where Keboola authorizes you using your Google account
- External authorization – via a link
- Custom authorization (OAuth2 – most secure) – using client + secret
Selecting the Source Table – After successful authorization, click on “Add Table.” Keboola will then ask if you want to update the destination table or always create a new table (full load). You can choose “Create New Table,” for example.

Google Drive and Location Selection – The final step is selecting the Google Drive folder where you want to upload your table using Keboola.

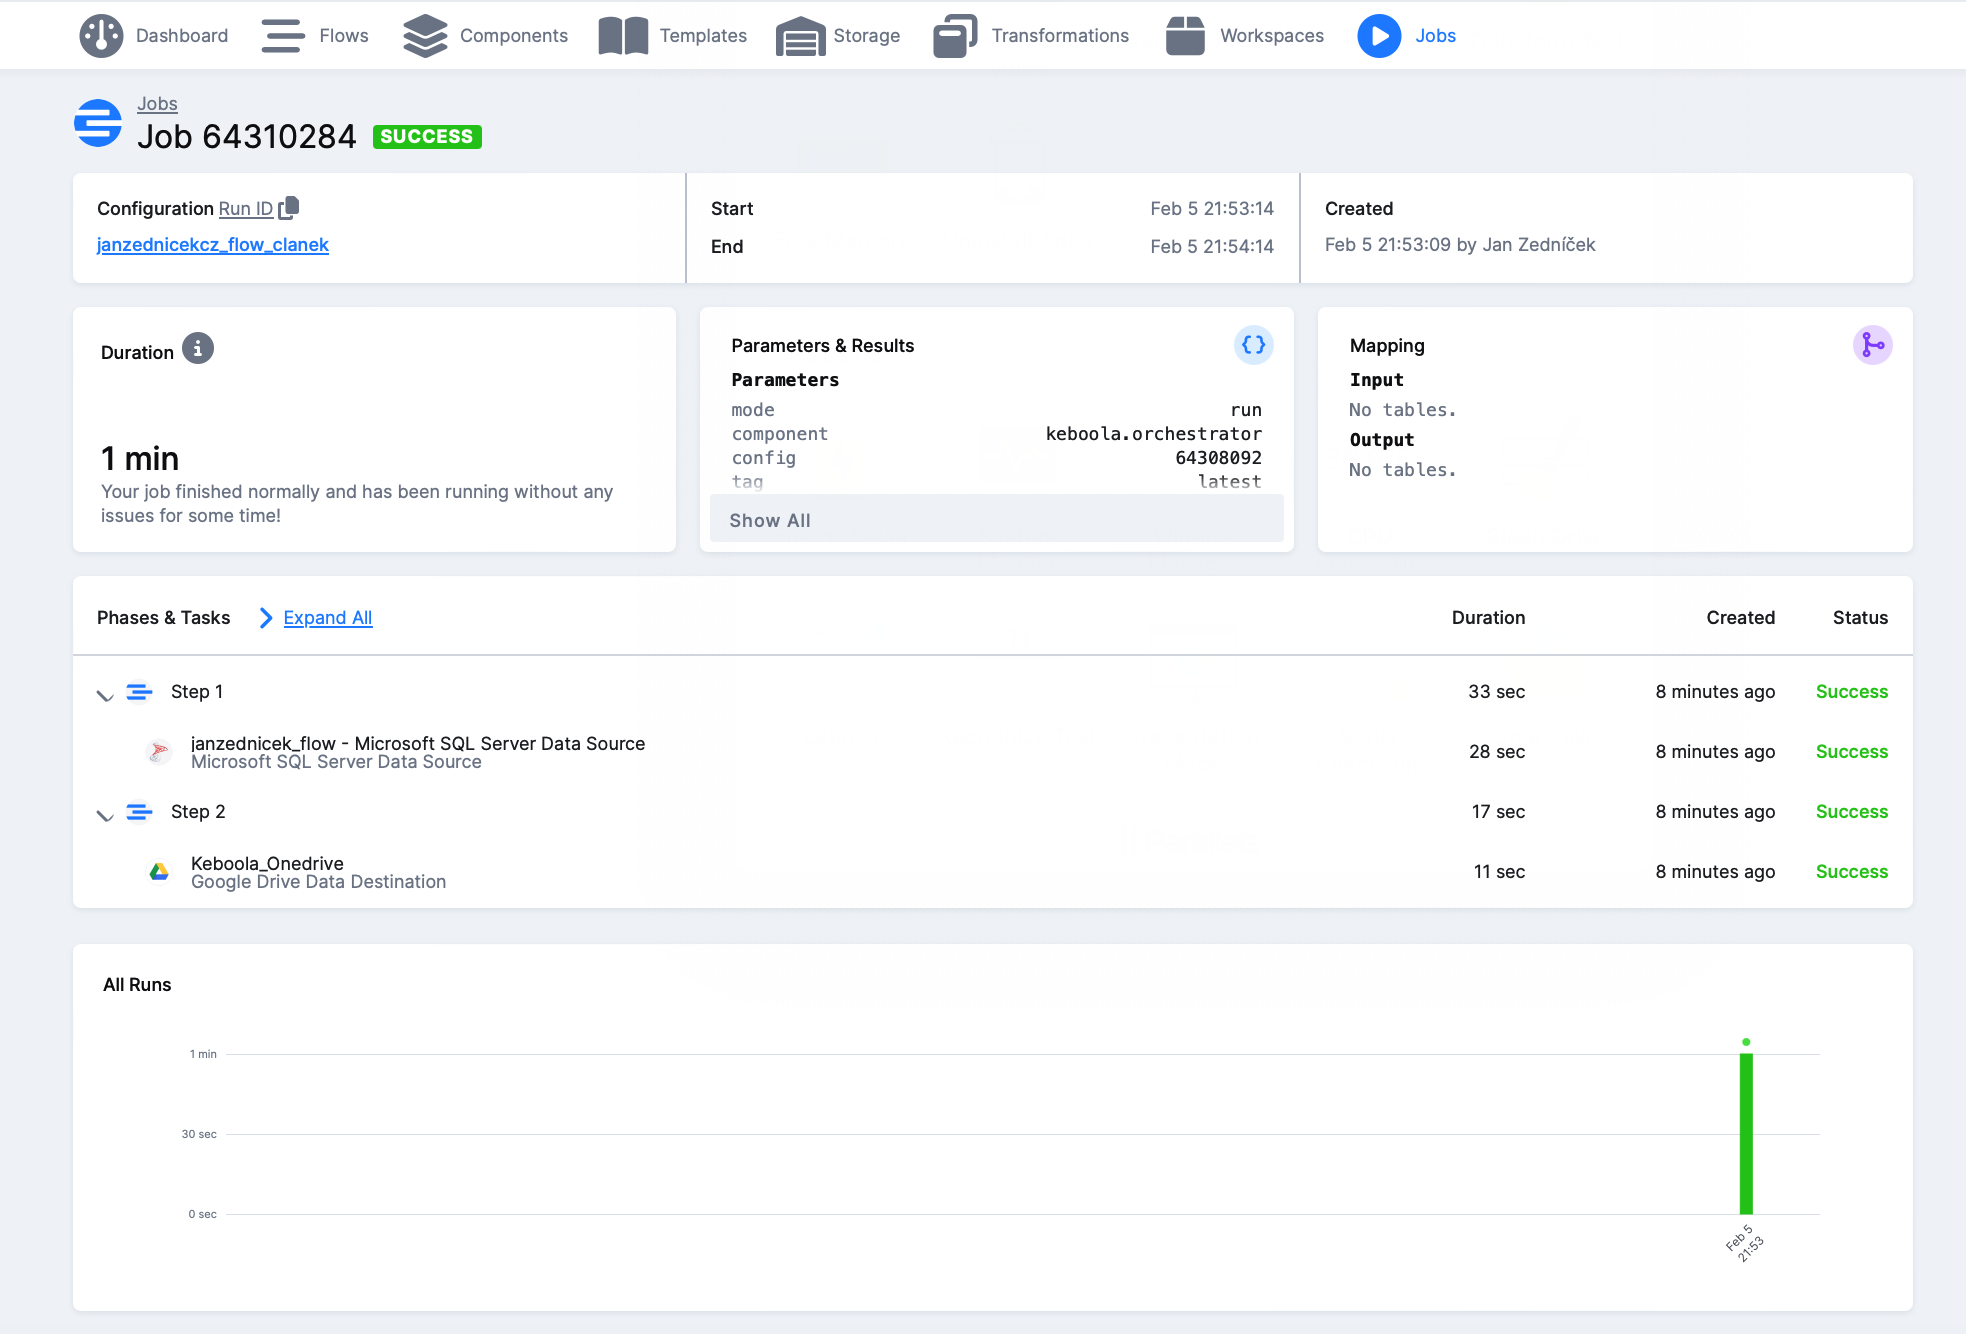
Running the Finished Flow and Verification
Keboola has exported the Customer file to my Google Drive.
