SQL Server Agent is a tool integrated into SQL Server that is primarily used for automating and scheduling tasks. Through SQL Agent, you can create Jobs and schedule individual tasks within those Jobs, such as executing scripts, running SSIS packages, using PowerShell, and much more. However, SQL Server Agent is only available in the Standard and higher editions of SQL Server, and it’s not included in SQL Server Express. In a previous article about SQL Server Command utility, we showed how to execute SQL scripts via the command line. In this article, we’ll demonstrate an alternative method using Windows Task Scheduler to define and schedule SQL tasks.
Task Scheduler as an Alternative to SQL Server Agent
As mentioned earlier, we’ll use the built-in Windows operating system tool called Task Scheduler as a replacement for SQL Agent. Task Scheduler allows you to create:
- Tasks (similar to Jobs in SQL Server Agent)
- Actions (similar to Steps in SQL Server Agent)
- Triggers (similar to Schedules in SQL Server Agent)
The principle is straightforward, and we’ll compare it to SQL Server Agent and provide an example.
Creating SQL Server Agent Jobs and Steps
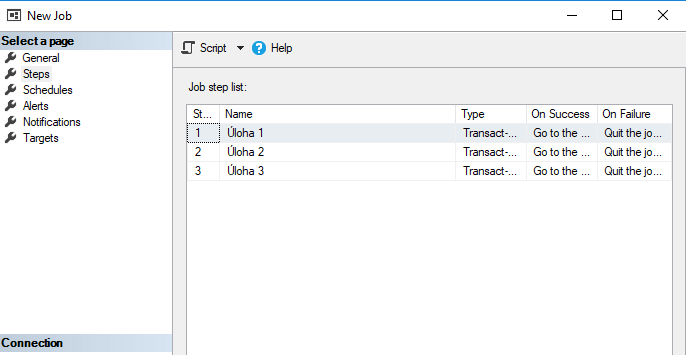
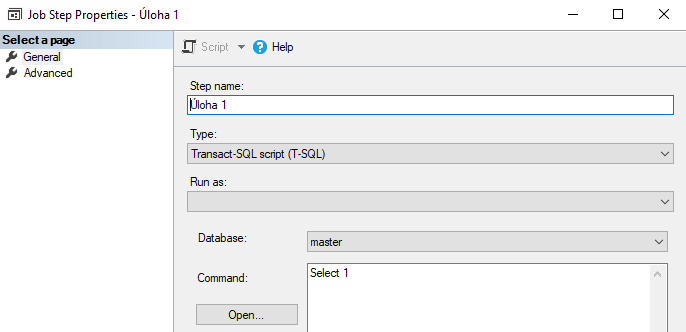
In SQL Server Agent, you create Jobs and place Steps (tasks) within each Job. You schedule the execution of a Job at a specific time (see images below).
How Windows Task Scheduler Works
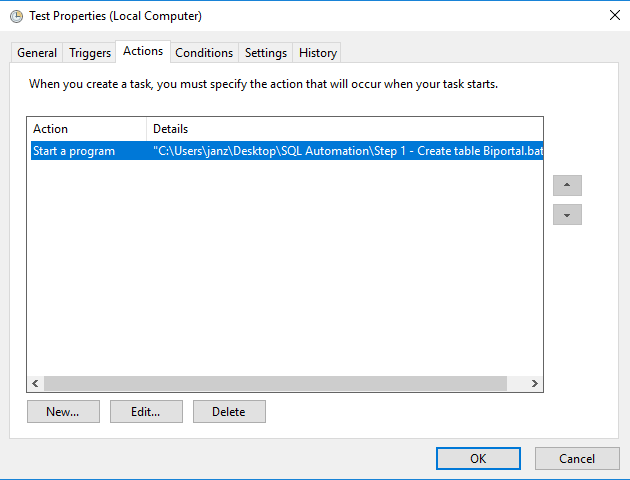
For Tasks created in Windows Task Scheduler, the principle is similar, as shown in the image below, focusing on the details of Task 1 named “Test”:
- Under the Actions tab, you can see the individual steps to be executed within the Task.
- Under the Triggers tab, you can view the scheduled time for the Task to run.
Example – Replacing SQL Server Agent – Step by Step
Here, we’ll demonstrate one possible approach to achieving this. Let’s say we need to prepare two tasks. The first task is similar to the one discussed in the previous article about sqlcmd, and we’ll add another task. In other words:
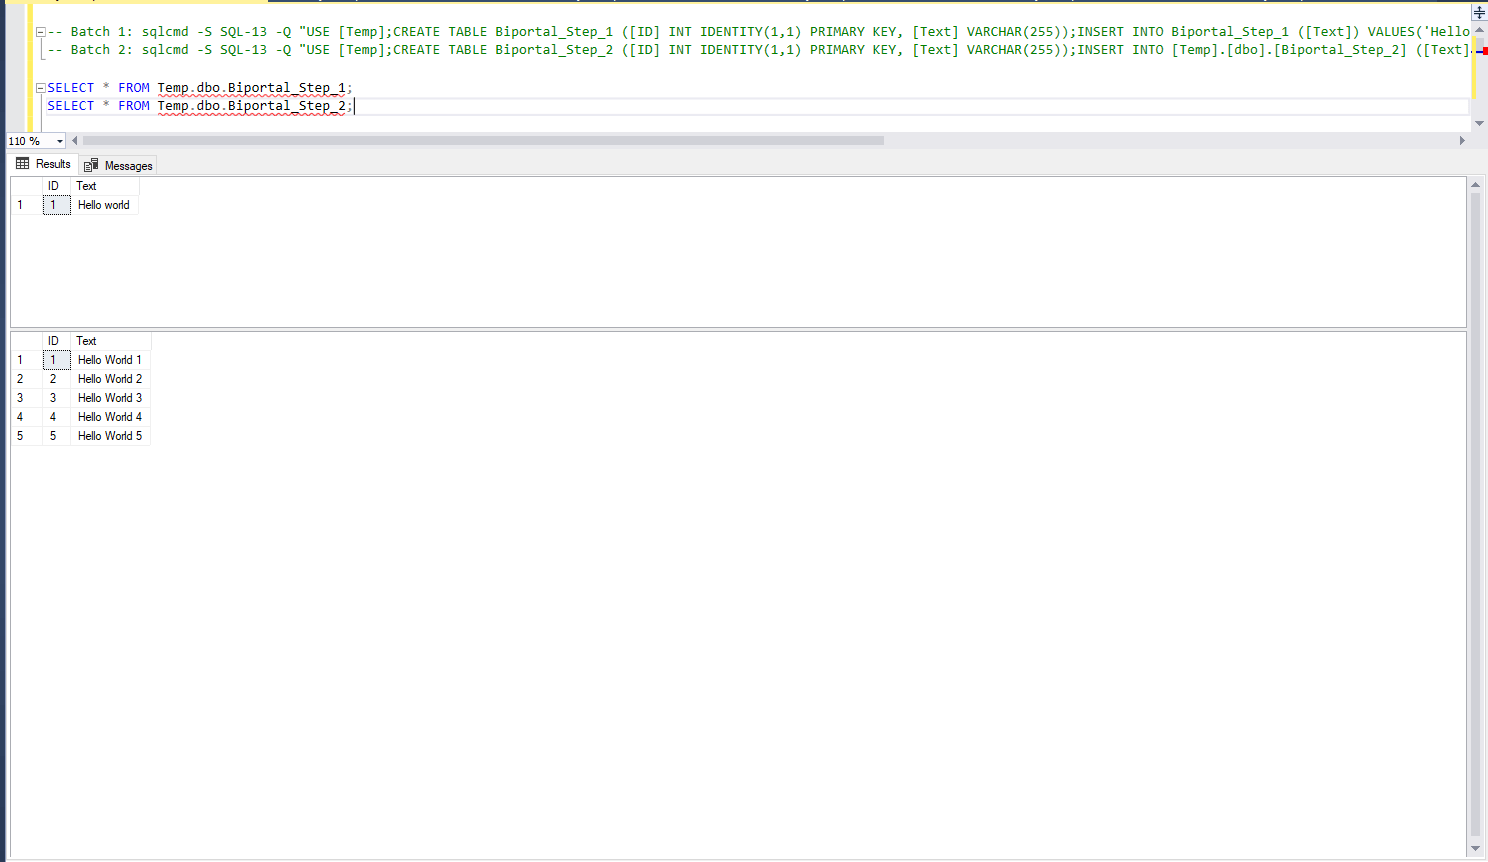
- We create a table “Biportal_Step_1” and insert one record, “Hello World”.
- We also create a table “Biportal_Step_2” and insert five records, “Hello World 1”, “Hello World 2”, “Hello World 3”, “Hello World 4”, and “Hello World 5”.
Summarizing, we’ll execute two scripts via the task scheduler:
- sqlcmd -S SQL_INSTANCE -Q “USE [Temp];CREATE TABLE Biportal_Step_1 ([ID] INT IDENTITY(1,1) PRIMARY KEY, [Text] VARCHAR(255));INSERT INTO Biportal_Step_1 ([Text]) VALUES(‘Hello world’);” (Step 1)
- sqlcmd -S SQL_INSTANCE -Q “USE [Temp];CREATE TABLE Biportal_Step_1 ([ID] INT IDENTITY(1,1) PRIMARY KEY, [Text] VARCHAR(255));INSERT INTO [Temp].[dbo].[Biportal_Step_2] ([Text]) VALUES (‘Hello World 1’),(‘Hello World 2’),(‘Hello World 3’),(‘Hello World 4’),(‘Hello World 5’);” (Step 2)
Preparing a Folder for Batch Files
To execute tasks via the task scheduler, it’s best to create batch files. The process is simple:
- Create a folder (e.g., “SQL Automation”).
- Open Notepad and prepare batch files. Each .bat file represents one task. In our case, we’ll create two files.
Creating Batch Files and Placing Them in the Folder
In each batch file, insert your scripts in the following format (example for Step 1 – Create table Biportal_Step_1.bat):
Explanation of the batch file: First, we start the command prompt (first “start:”). Then, we execute our script (second “start”), and finally, we terminate the session. Click “Next.”
Creating a Task in Task Scheduler
Once you have both files ready, open Task Scheduler and click “Create basic task.” Name your new task “Biportal_SQL_Automation.”
Configure Task Scheduler Trigger and Start Time
Next, configure the Trigger, which determines how often the task should run. In our case, we have a one-time SQL task, but usually, you’ll want tasks to run repeatedly, e.g., daily. Choose “Daily” and click “Next.”
In the next window, set the task’s start time and click “Next.”
Configure Action – Start a Program
In the following window, configure the action that Task Scheduler should perform. In our case, we want to start a program. Choose “Start a program” and click “Next.”
Set the Path to the Batch File
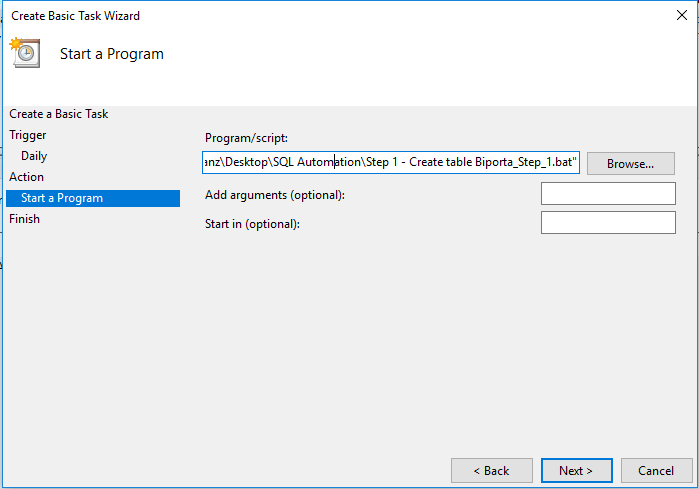
In the final step, set the path to your batch file (see 1) that should be executed and click “Next.”
Action Window – Task Created Successfully
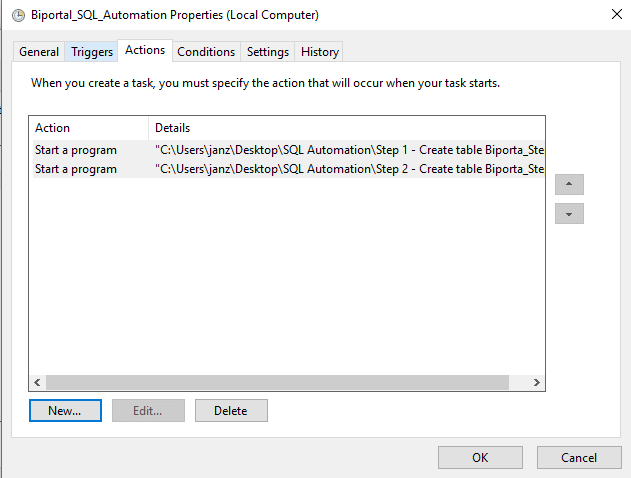
A summary window will appear, and upon confirmation, your task is created. However, the task currently contains only one action (step). We need to set up the second step. To do this, right-click on your task, open it, switch to the “Actions” tab, click “New,” set the path to the second batch file, and confirm. Now, your task should have two actions. These actions will run at the time you specified in step 5.
Testing the Task
Now, let’s try running the task to see what happens. Right-click on the task and select “Run.” Check if everything is working correctly. It should be okay, and you have successfully replaced SQL Server Agent 😉
